Onboard an appliance
This guide will walk you through the process of onboarding appliances of your organization or end-customers on the Anapaya Console.
Prerequisites
To onboard an appliance, you will need to meet the following prerequisites:
-
You have the operator (or above) role in the organization that the appliance should be added to.
-
You have access to the management API of the appliance.
-
The appliance is reachable from the Anapaya CONSOLE. Reach out to support@anapaya.net to get connected.
Onboarding process
Appliance configuration
-
Enable basic authentication on the appliance, by configuring the related section in the appliance configuration. For information on how to achieve this, you can consult the
basic_authsection of our technical documentation here.We recommend to create an Anapaya Console specific user (e.g.,
anapaya-console) to simplify management in the future. -
Expose the appliance management API on the RDV network (i.e., the IP address inside of the WireGuard tunnel). For information on how to configure this, you can consult the
listenerssection of our technical documentation here.
Console configuration
-
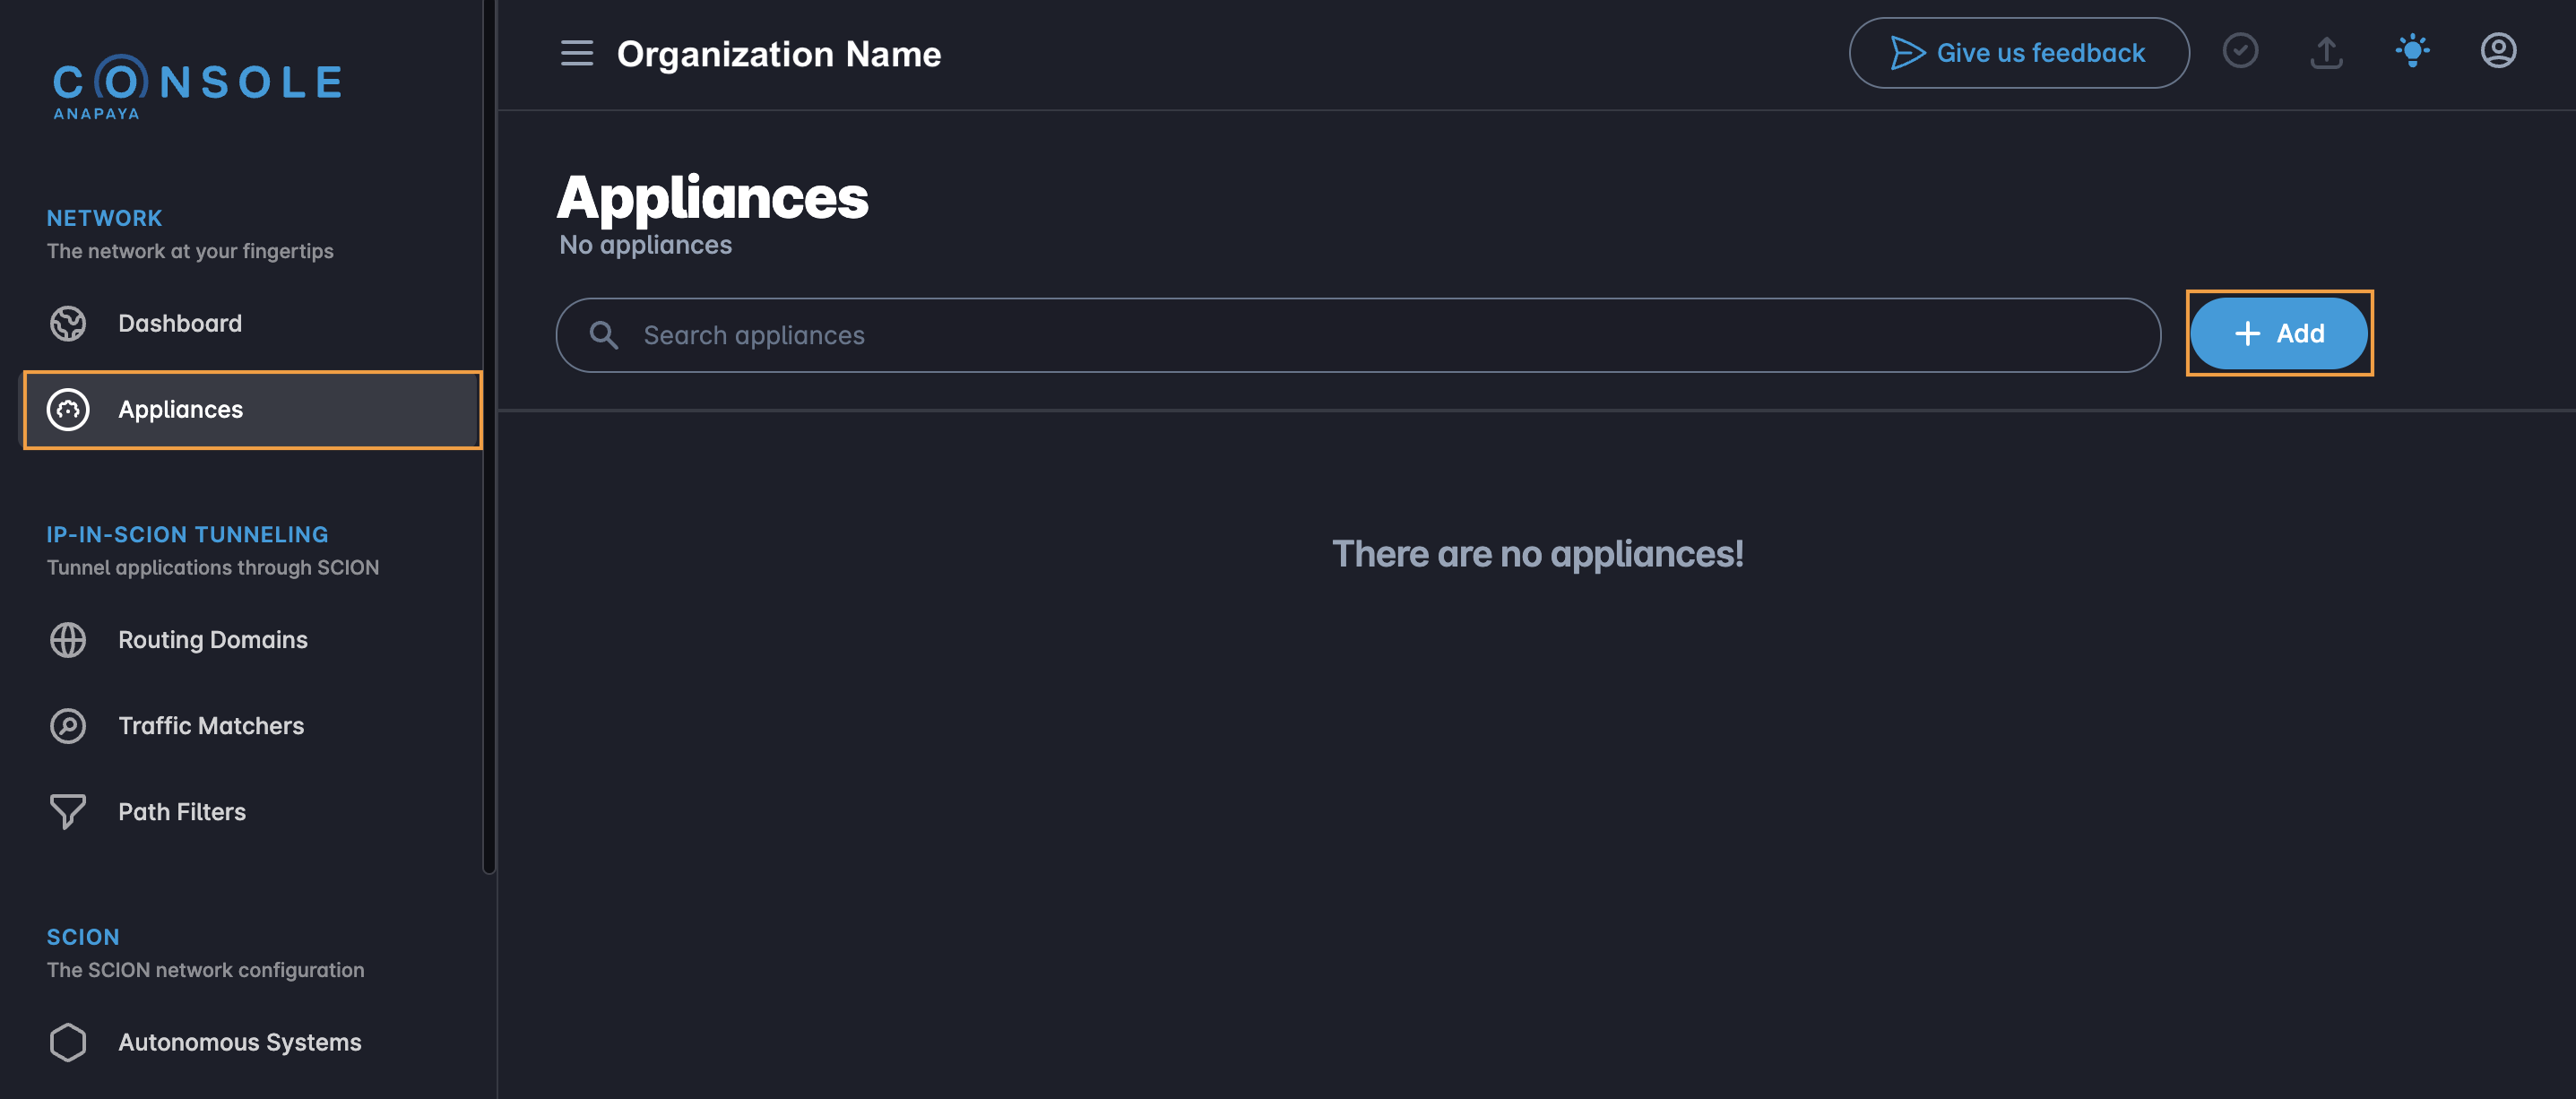
Navigate to the new appliance page to add an appliance to your current organization "".
Alternatively, click on the "Appliances" tab and then on the "Add" button, as shown below.
-
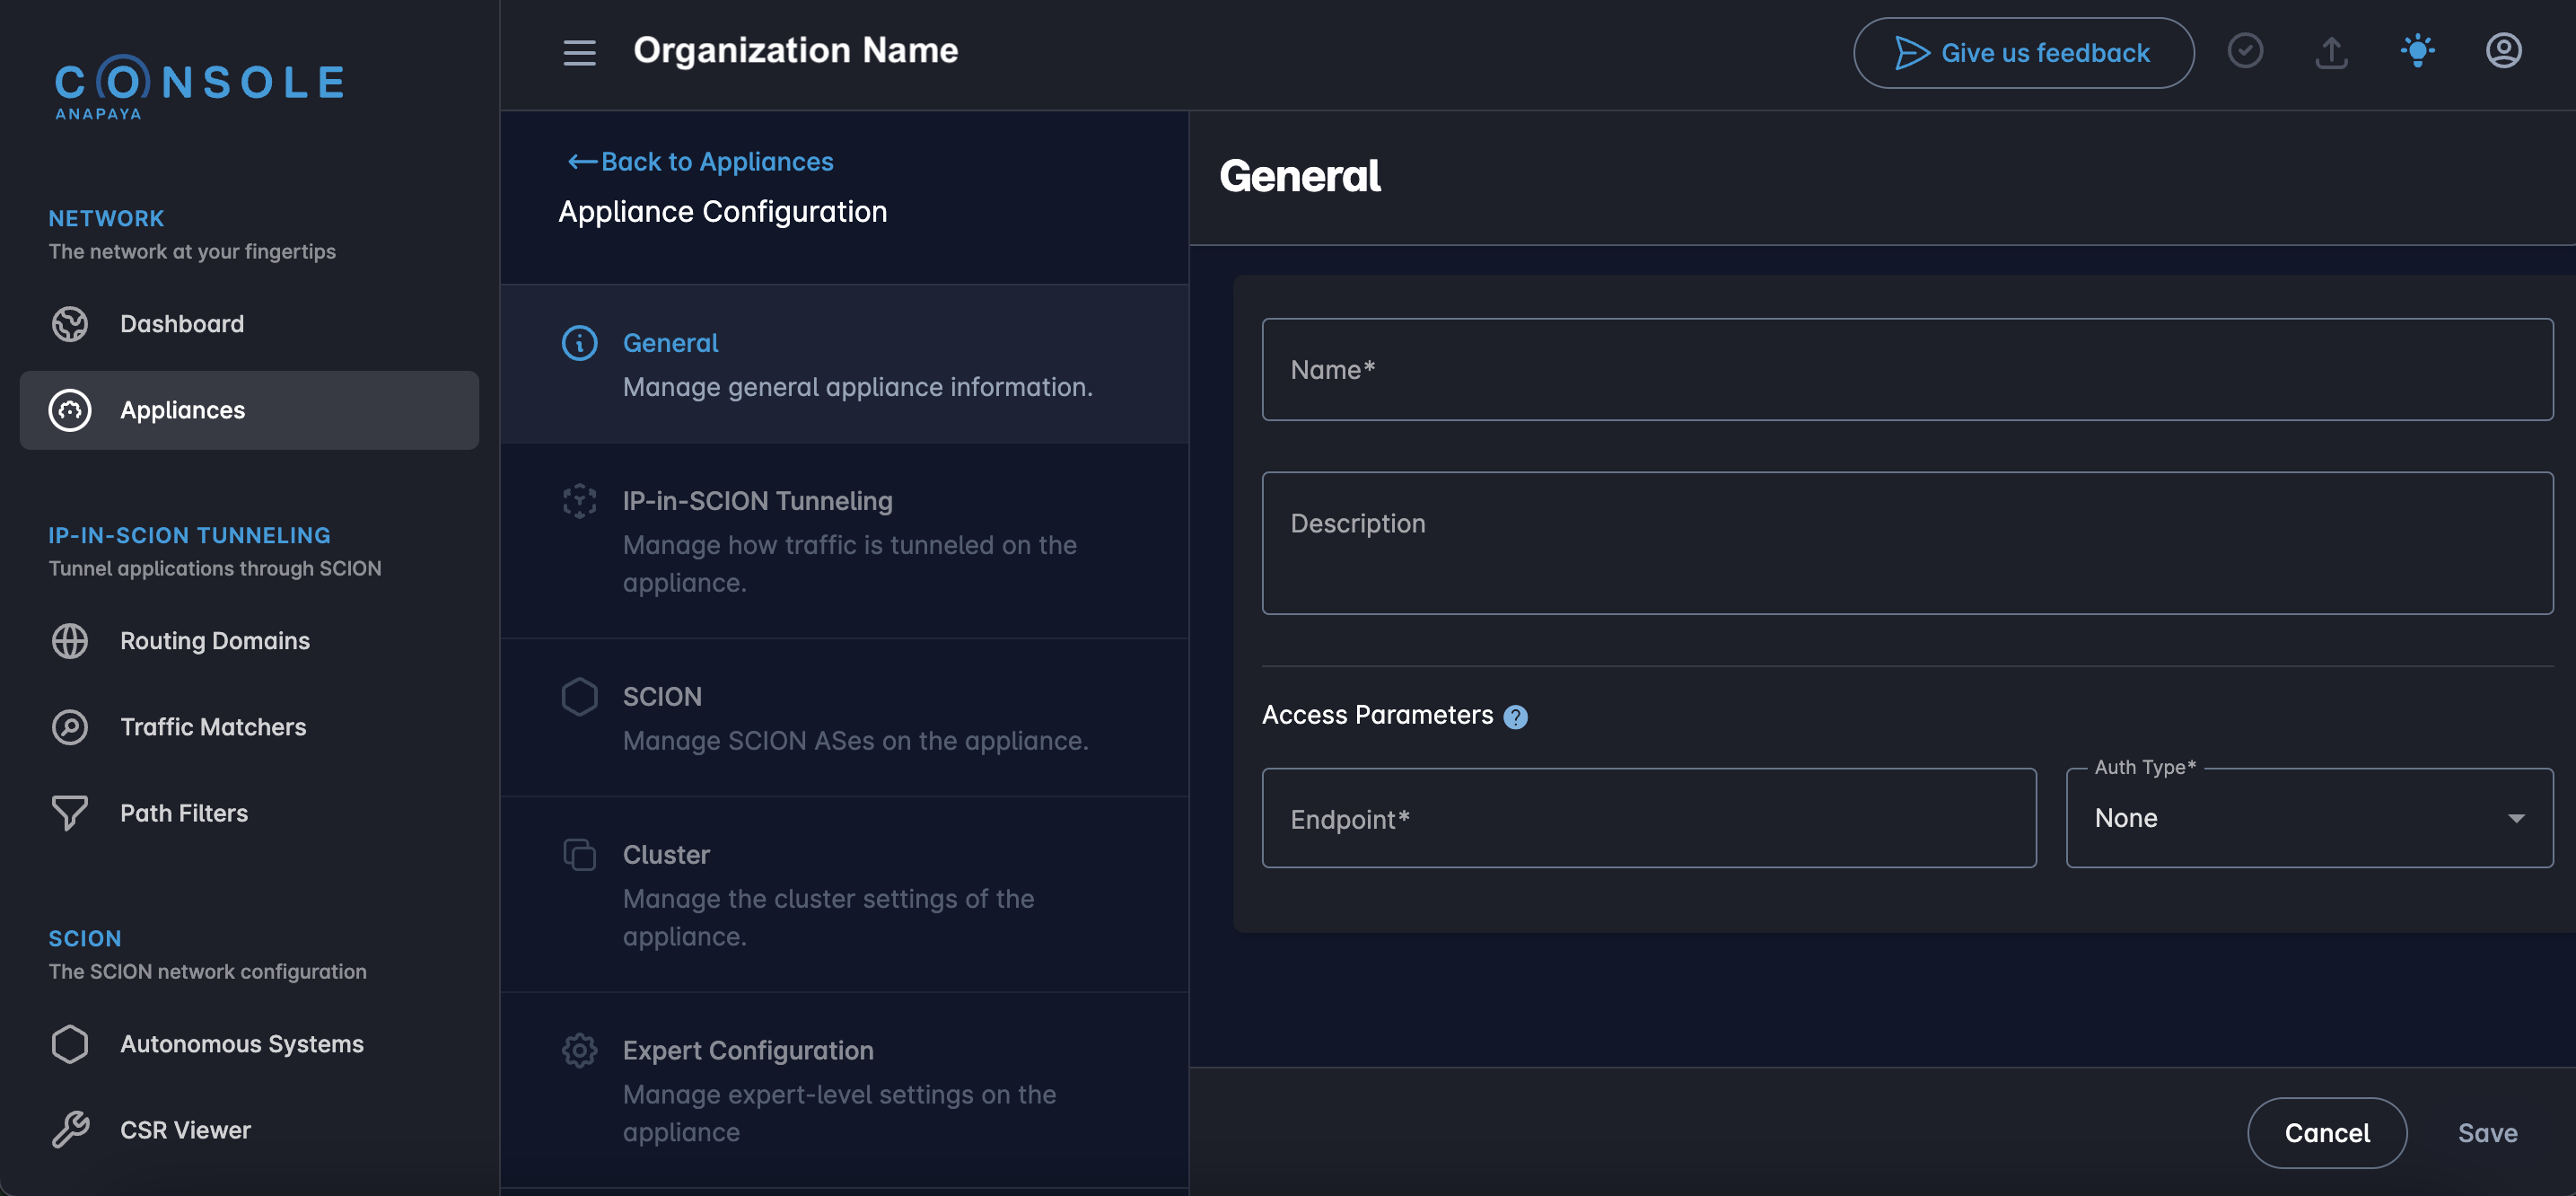
The Appliance Configuration page will be opened, as shown below:
-
Fill in the required fields:
- Name: The name of the appliance.
- Description (optional): A brief description of the appliance.
- Access Parameters
- Endpoint: The endpoint is a URL that where the appliance is
reachable. E.g,
https://{{IP}}:443, where IP is replaced with the address of the listener on RDV. - API Path (optional): The path to the API of the appliance relative to the endpoint. If this is unset, the default API path /api/v1 is used.
- Metrics URL (optional): The full URL to the metrics endpoint of the appliance. E.g.
https://{{IP}}:443/metrics. If this is unset, the default metrics URL {{endpoint}}/metrics is used. - Auth Type: Select "Basic" or "OAuth2ClientCredentials" based on the authentication method used on the appliance.
- Endpoint: The endpoint is a URL that where the appliance is
reachable. E.g,
- Authentication Parameters
- Basic Auth
- Username: The username used to authenticate with the appliance, as defined on the appliance.
- Password: The password used to authenticate with the appliance, as defined on the appliance.
- OAuth2 Client Credentials
Refer to the Anapaya documentation for detailed instructions on how to obtain these
settings for Azure AD
or Okta Auth0
- Client ID: The client ID of the application that was registered to use the client
credentials.
Example:
12345678-1234-1234-1234-123456789012 - Client Secret: The client secret of the application that was registered to use the client credentials.
- Token URL: The token URL used to request the access token.
Example for Azure AD:
https://login.microsoftonline.com/{{tenant-id}}/oauth2/v2.0/token - Scopes: The scopes specify the requested permission scopes. These may be required
by some identity provider and the application configurations.
If you follow the Anapaya documentation this is required
for Microsoft Entra ID.
Example for Microsoft Entra ID:
api://{{client-id}}/.default - Additional Parameters: Additional URL parameters to be sent with the token request. These can usually be left empty but may be required by some identity providers.
- Client ID: The client ID of the application that was registered to use the client
credentials.
Example:
- Basic Auth
and save the appliance.

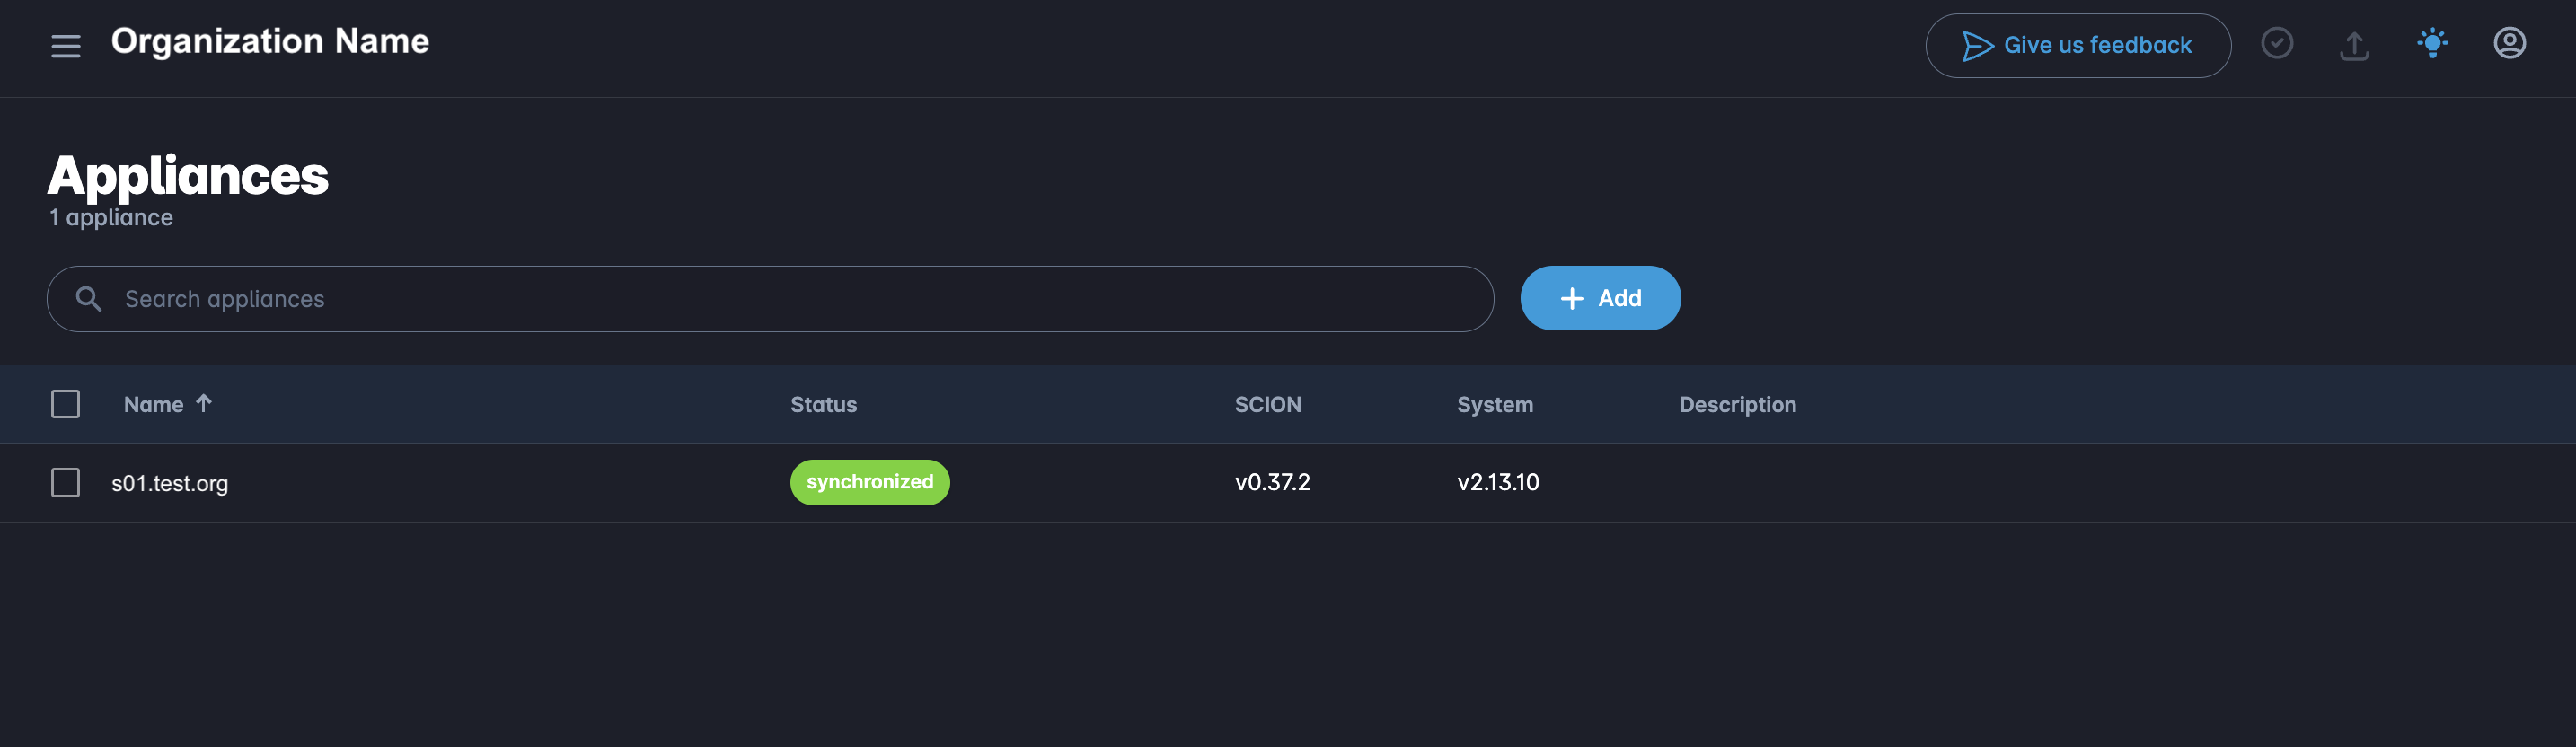
-
The appliance will now appear in the list of appliances for the organization. Please note that you may need to wait a few minutes for the appliance to become reachable by Console.
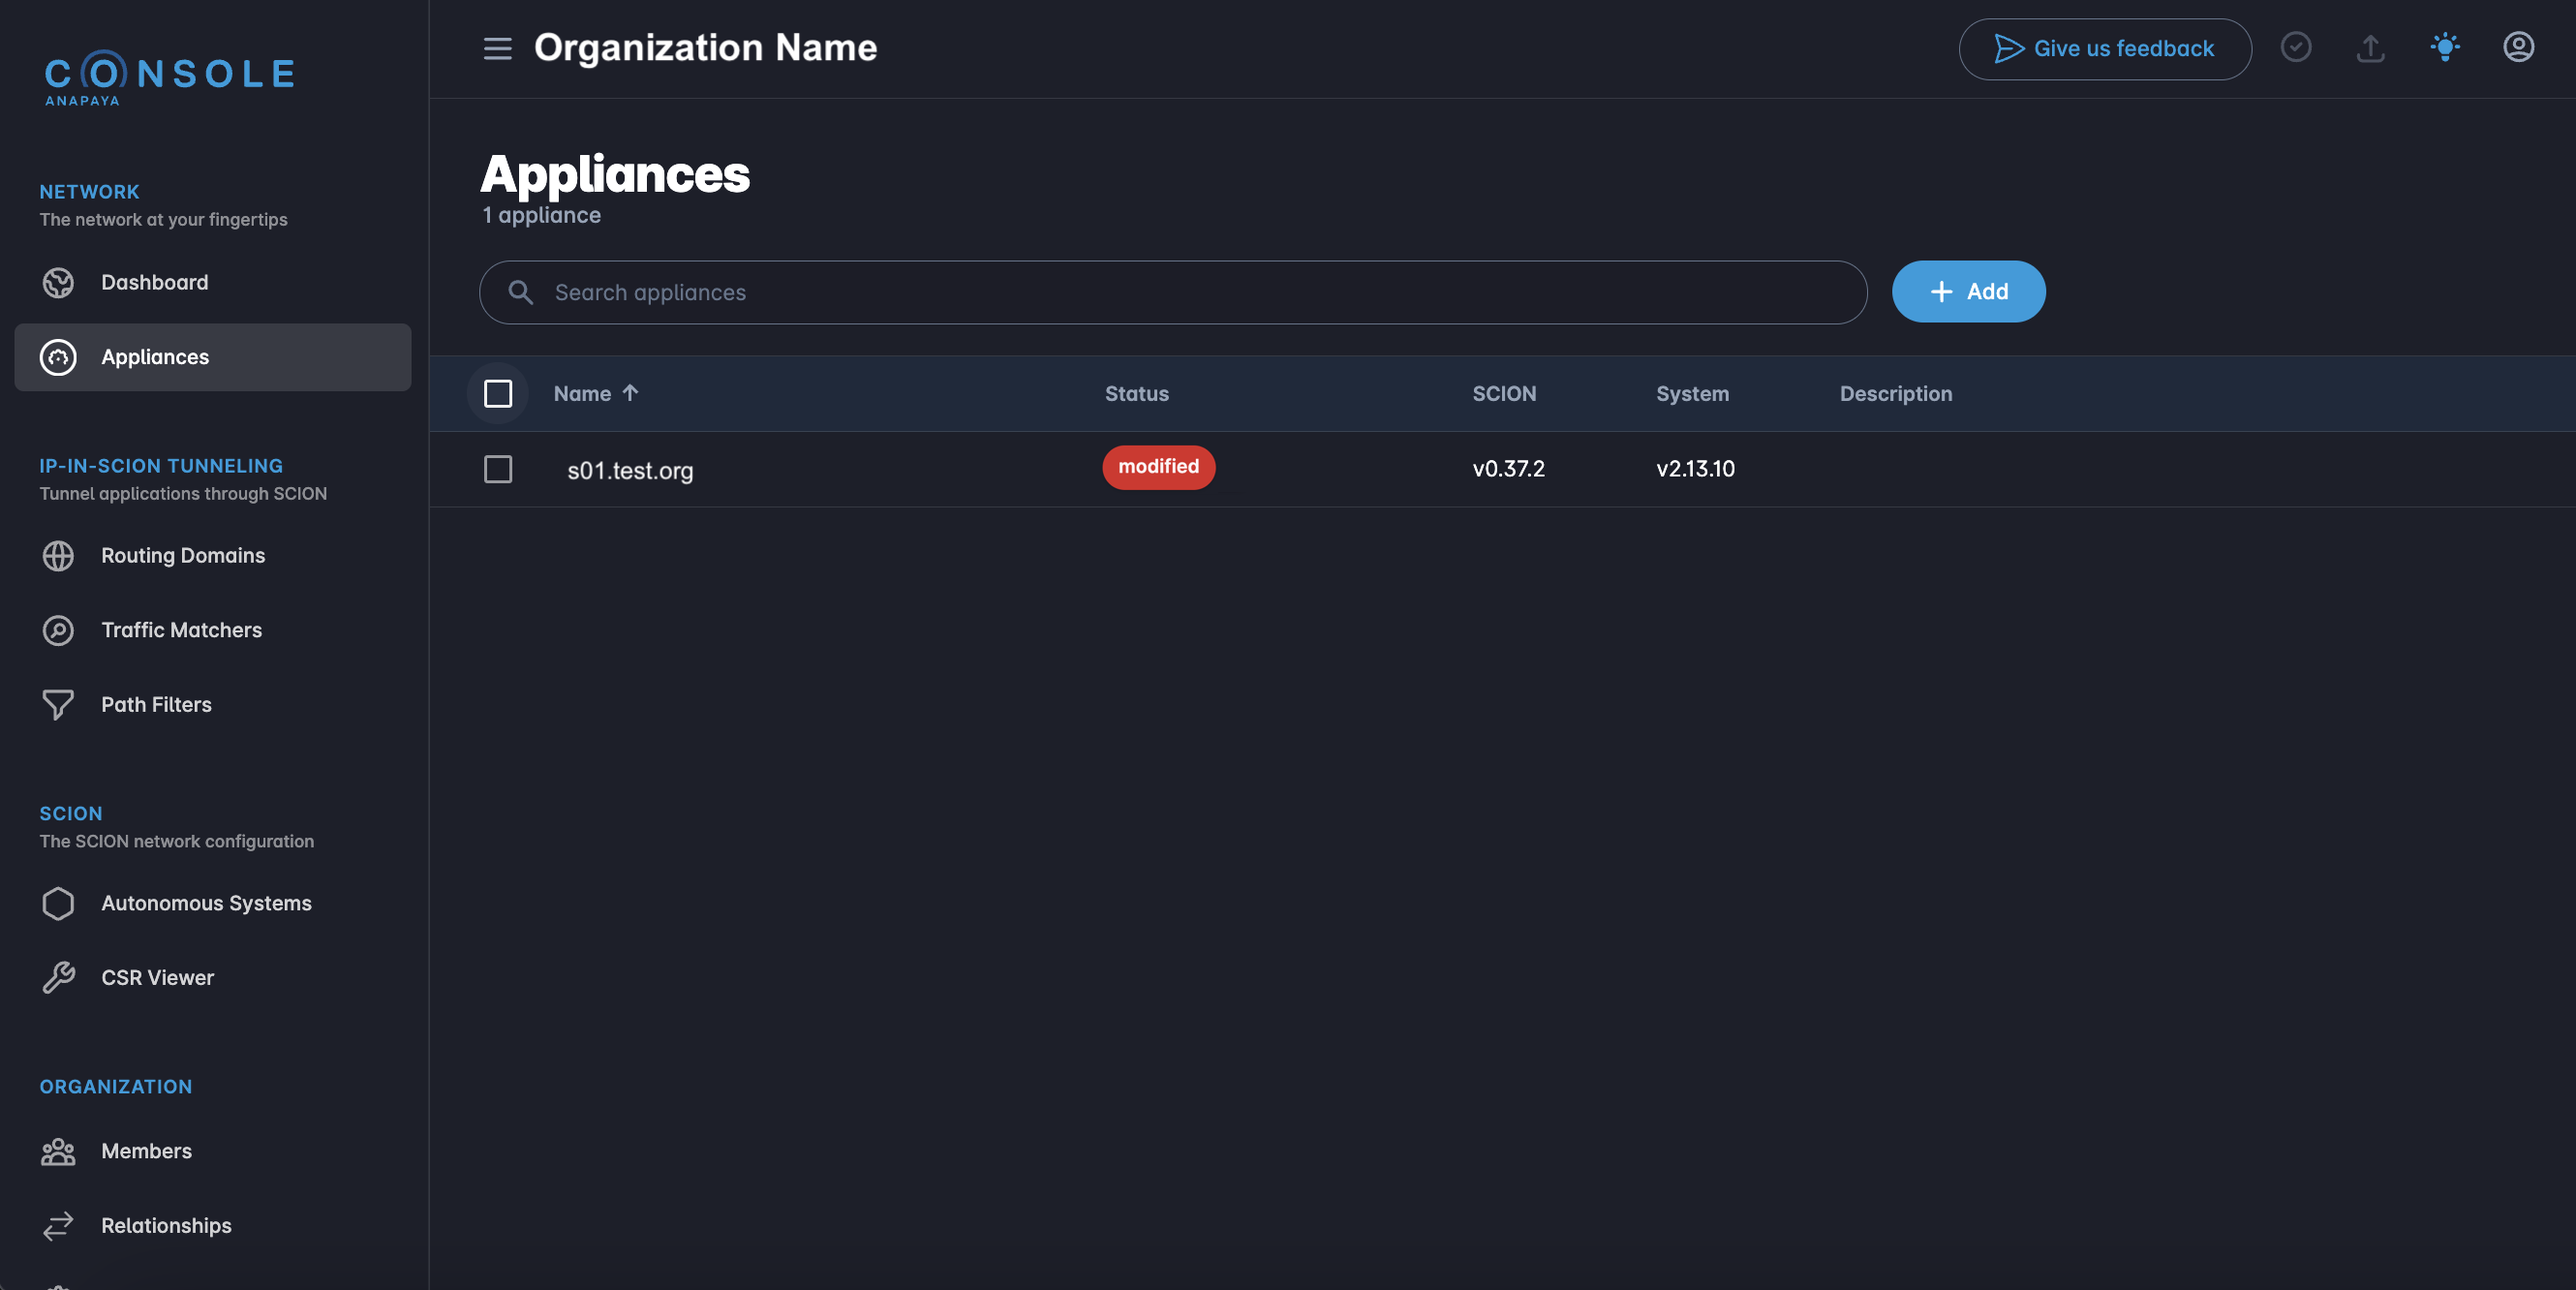
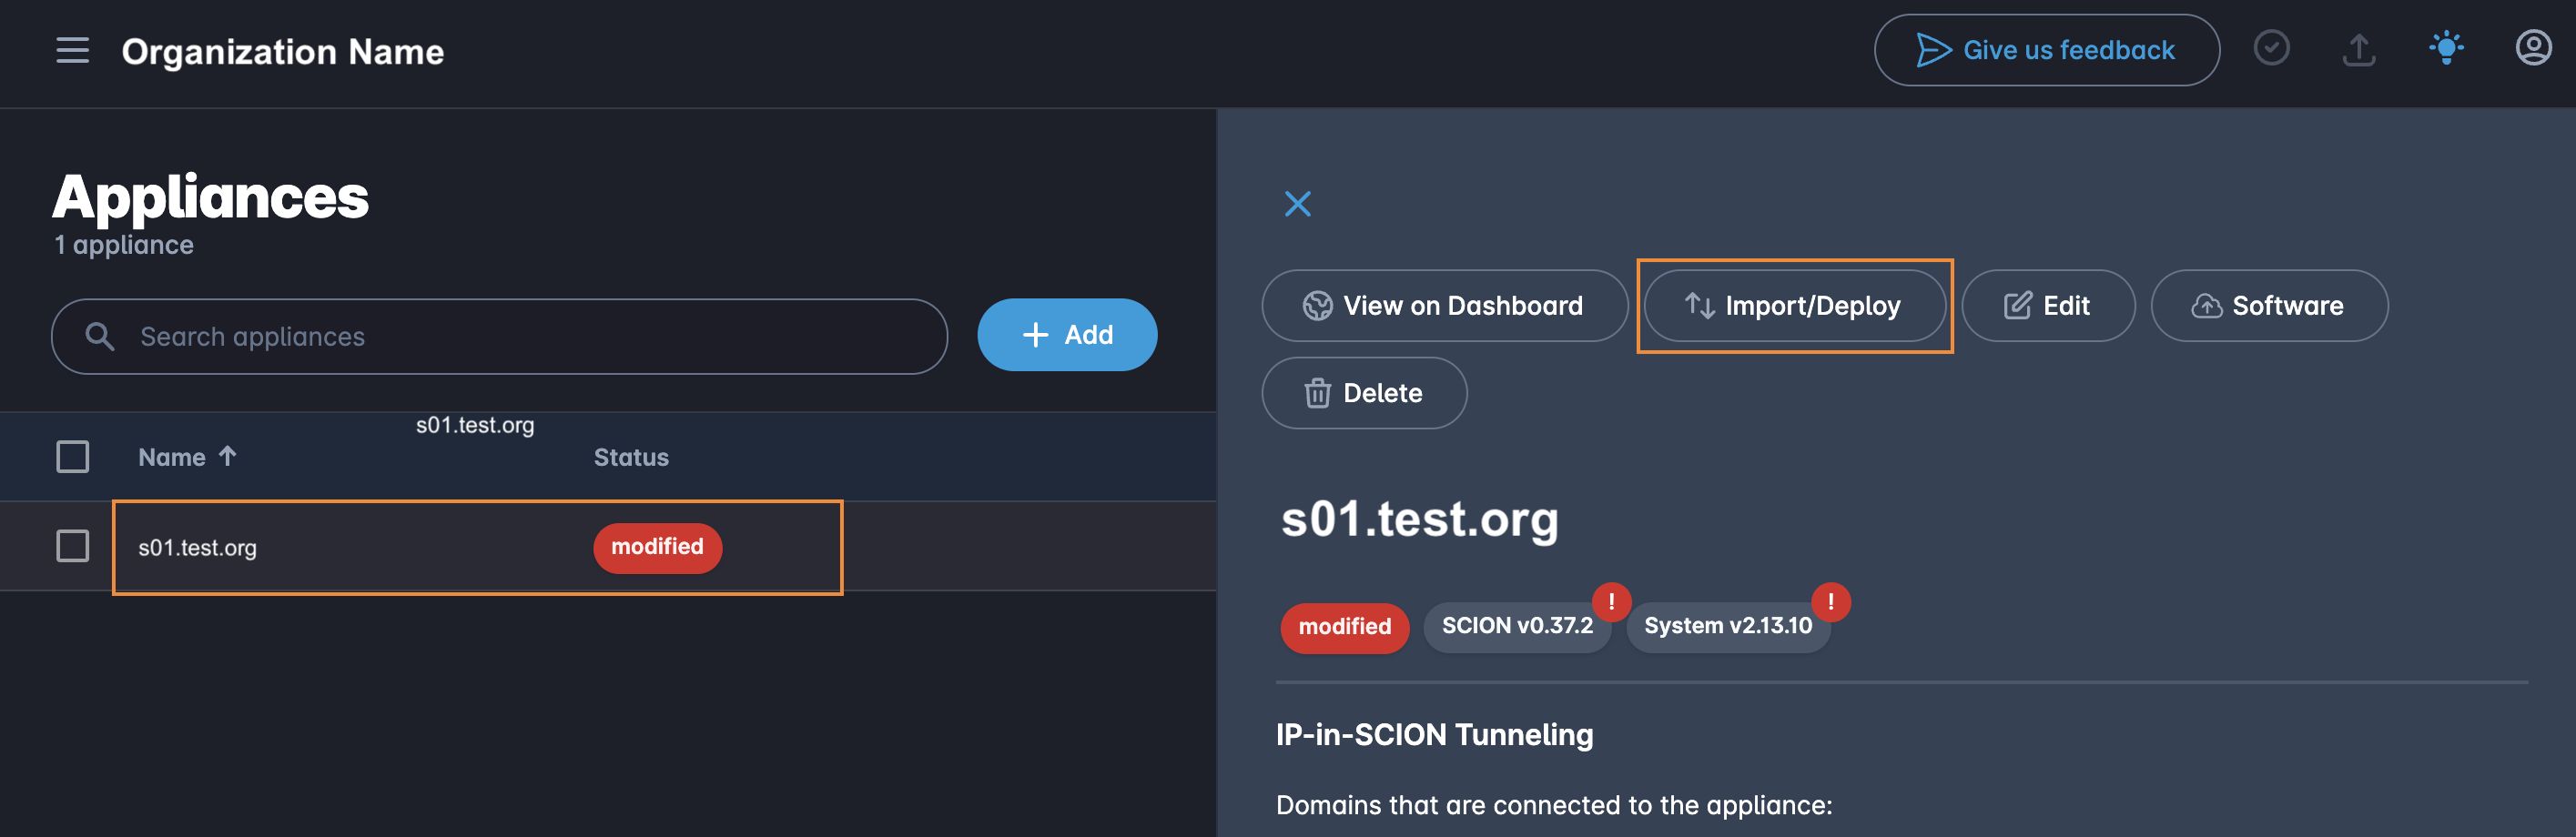
-
Click on the appliance row to open the appliance details. Then click on "Import/Deploy".
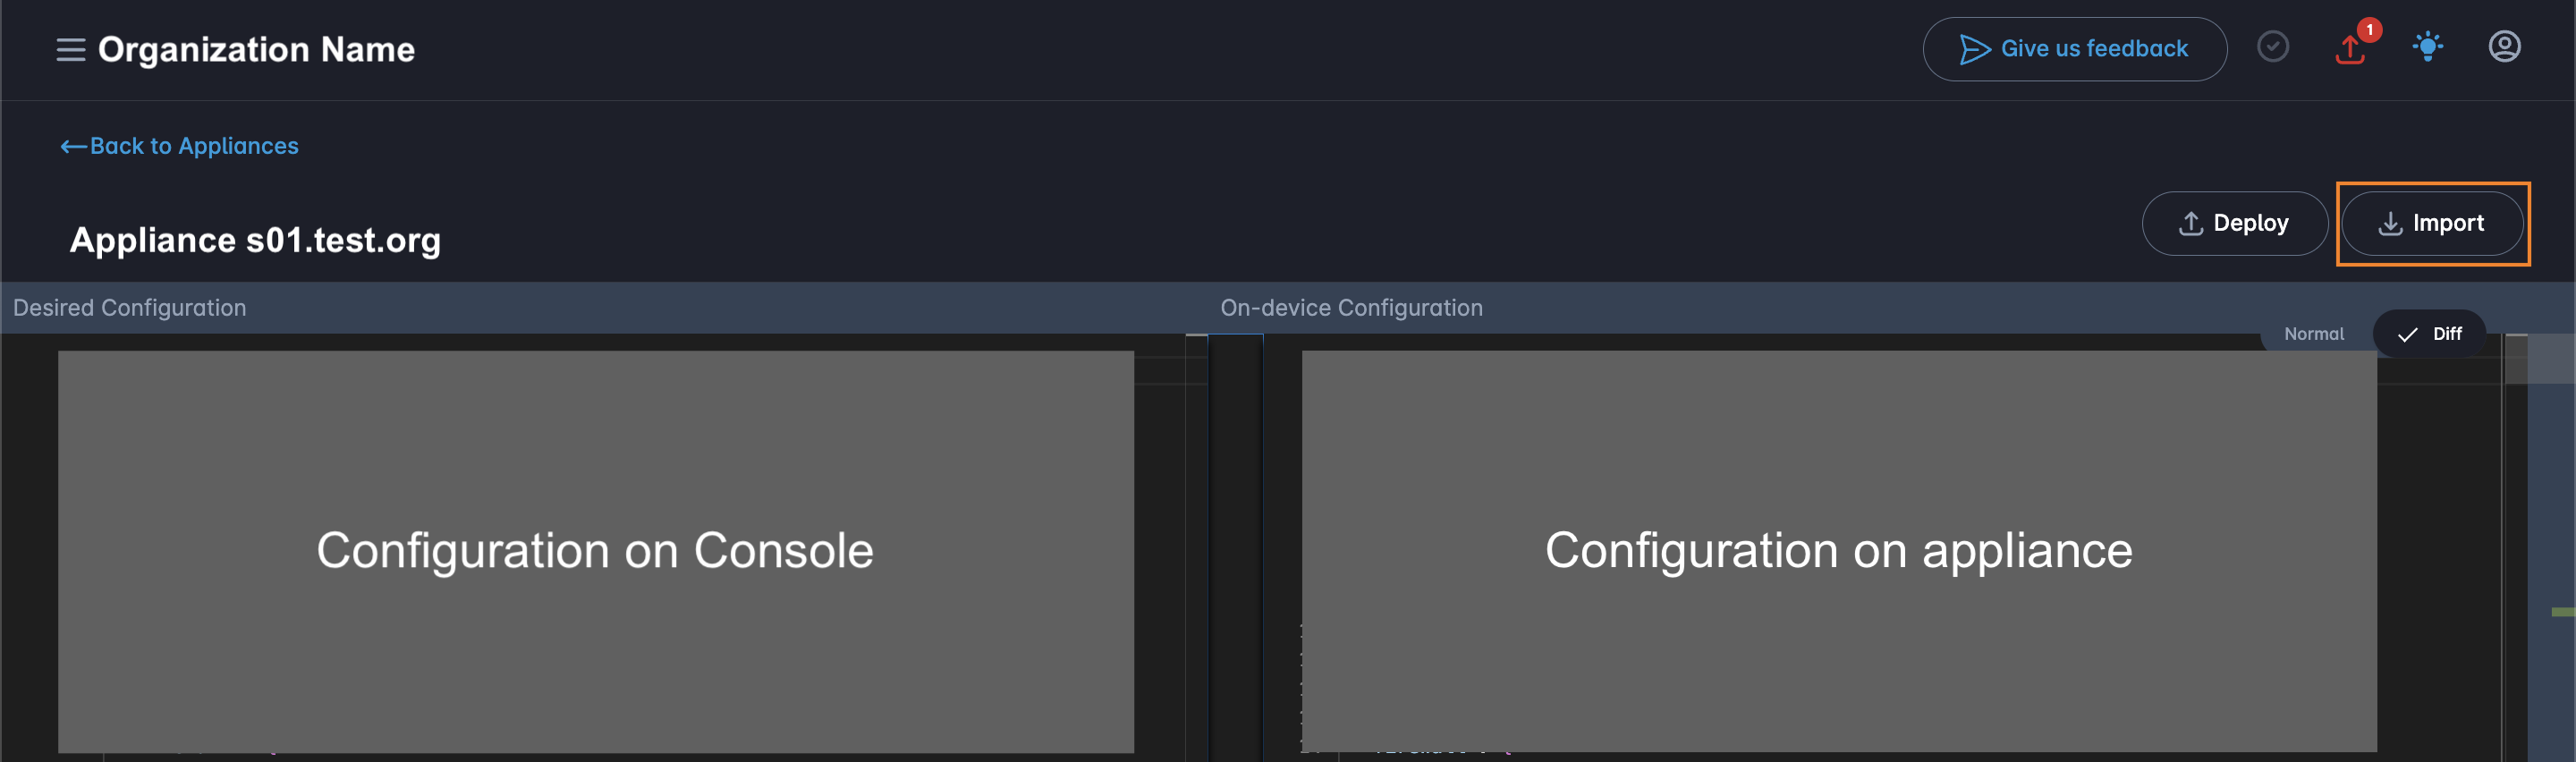
-
Click on the "Import" button to import the configuration from the appliance to Console.
-
The appliance is now onboarded on the Anapaya Console. You can now monitor and configure the appliance from the Console.